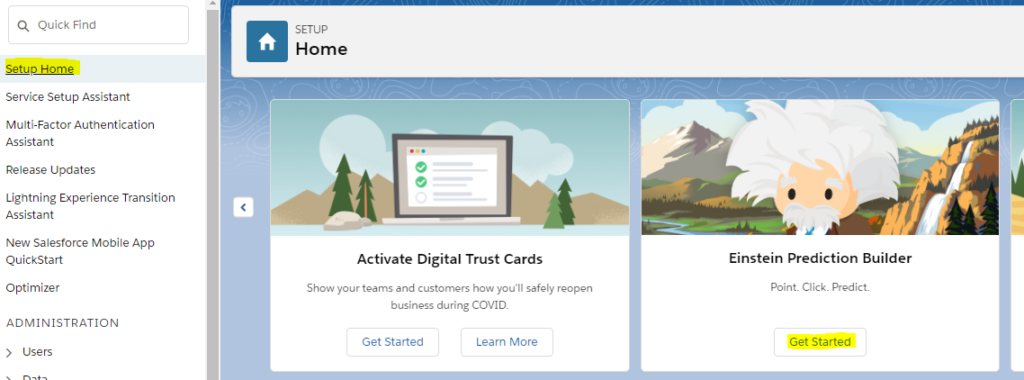
Now is the time to build the prediction using Einstein Prediction Builder.
In case you want to read about Einstein Prediction Builder, please read my previous blogs in the series
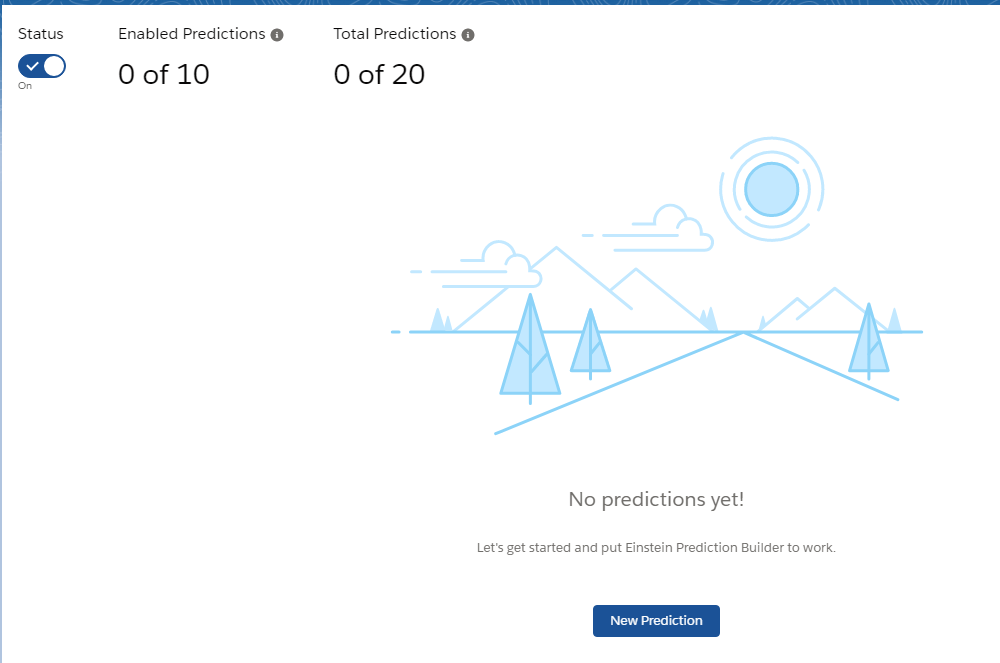
1. Click on the New Prediction Button on the Einstein Prediction Builder.
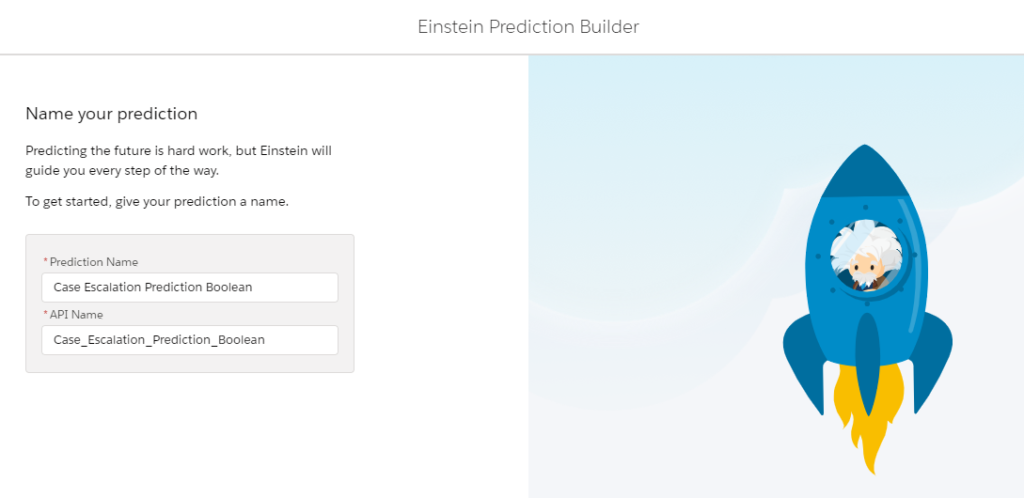
2. Give your Prediction a name (and api). I kept the name as “Case Escalation Prediction Boolean”
3. Click on “Next” button.
4. Choose the Object. In our example, it would be “Case” object. For now we won’t Segment the data so that we can utilize entire org data.

5. Click on “Check Data“
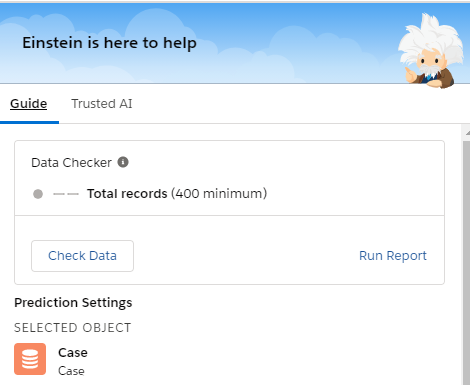
6. This will check the org to see if we have enough data to build the prediction. In our case, we do have enough records.
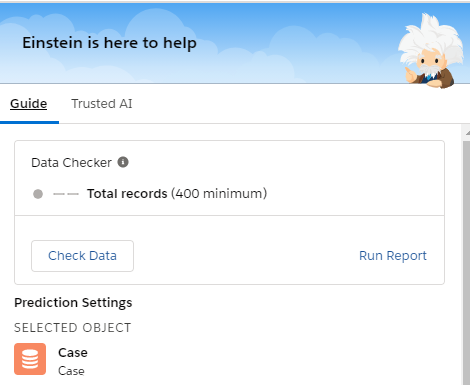
7. Click Next Button.
8. We are now presented with an option – whether we want the answer as a simple “Yes / No” or whether we want to see the likelihood of something we are predicting i.e. a “Numeric” value. For our use case, we would go ahead with the “Yes/No” option.
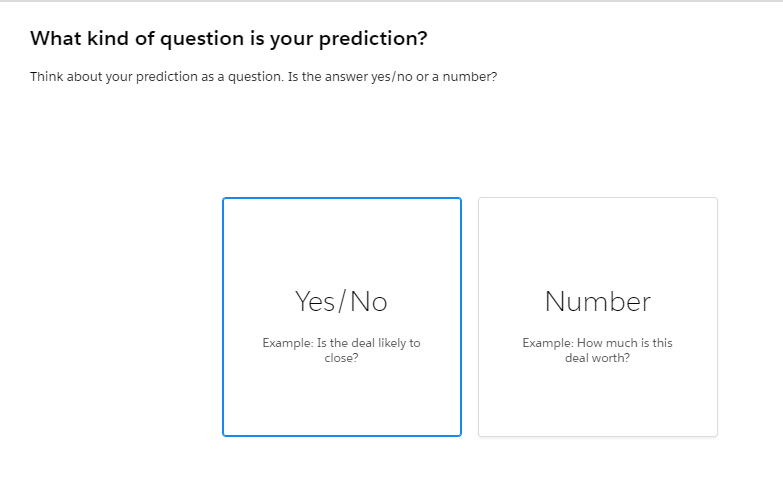
9. Click Next.
10. In the next screen, there would be an option to save prediction result in an existing field. In Our use case, we could think of using the “Escalated” field – which denotes whether the case is escalated or not. However we want to predict whether it would escalate or not; rather than suggesting whether the case is escalated. So we will go with “No Field” Option.
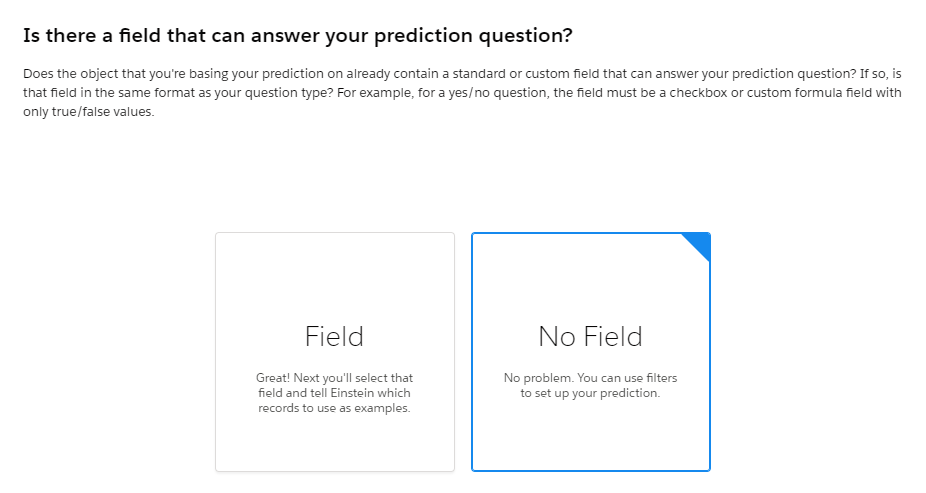
11. Click Next.
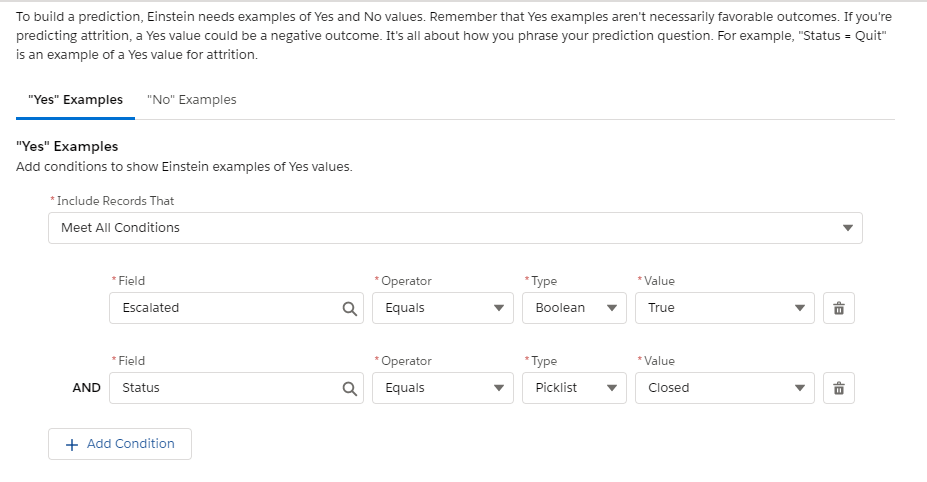
12. We now have to give some examples of Yes and No Scenarios. In this use case, Yes Scenario would be where the case is now closed but was escalated.
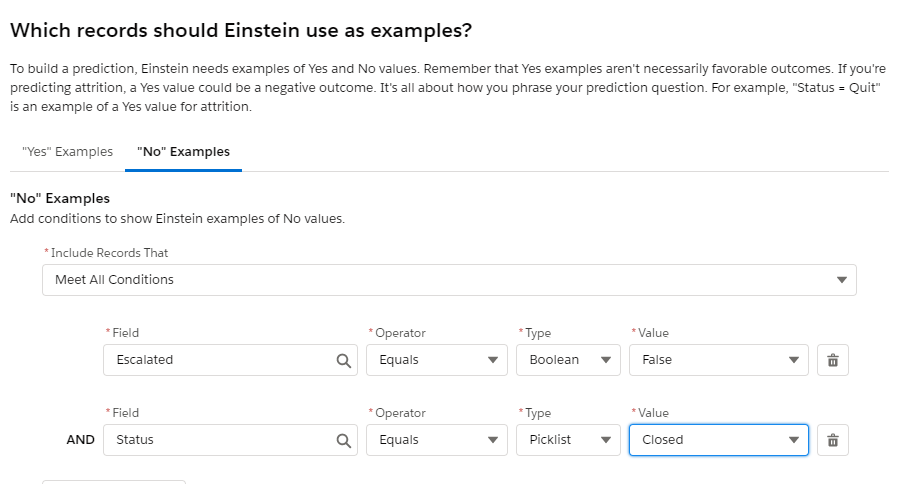
13. No Scenario would be where the case is now closed and was not escalated.
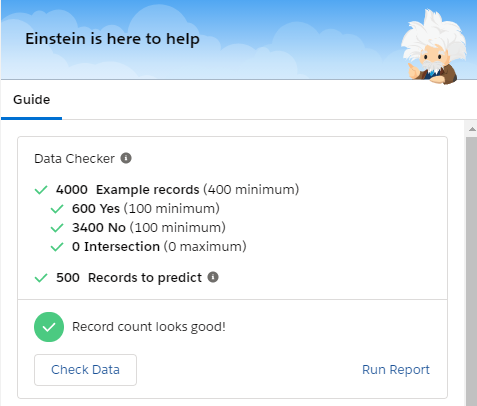
14. We now do a quick data check to ensure that we have enough records.
15. Click “Next“
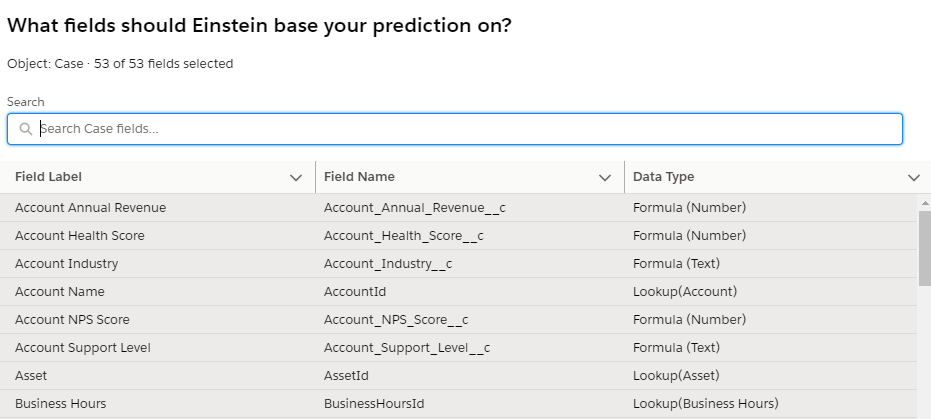
16. Einstein Prediction Builder Wizard now asks for the Fields we would like to include for Prediction. You can select all or choose the ones you want to select.
17. We now define the Custom Field where we would like to save the Prediction Result. Lets call this field “Escalation Possibility“

18. Finally we reach the last step and which summarizes our selections.
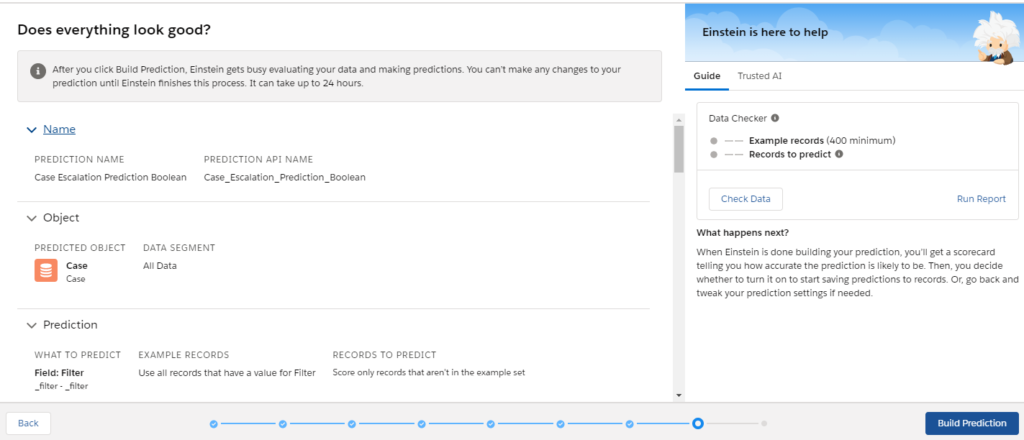
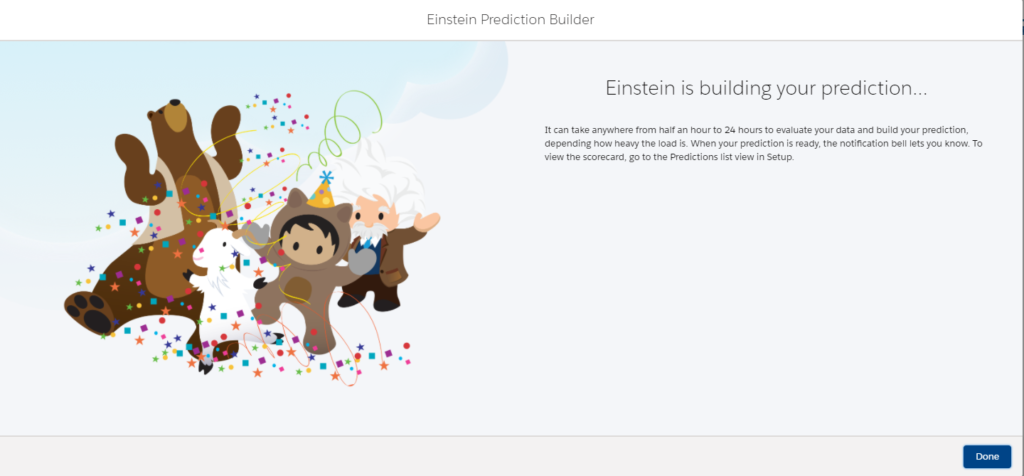
19. Click on “Build Prediction” and you are all set. It can take some time for Einstein to complete the Prediction.
20. Clicking on “Done” will bring you back to the main Einstein Prediction Builder Screen. We will have to wait once Prediction is enabled.

21. Once the Prediction is “Ready for Review“, you can “Enable” the prediction. It is advised to check the scorecard before enabling. We will talk about Scorecard / Optimizing the prediction in further blogs.

22. Once Enabled, the status changes “Enabled” and you can now add the prediction field in Page layouts, Listviews, etc. It can take sometime for the results to appear on the record.
In the upcoming blogs, we will configure a probability (numeric) prediction and walk through on ways to optimize the prediction score.
